|
As my aging now 11 year old class A motorhome sits in the driveway waiting to get back on the road, exposure to the South Carolina sun and the environment has taken a toll on the roof sealants that are applied to prevent interior leaks. Sealants used in gutters and laterally across the caps require yearly maintenance and if allowed to sit without inspection or reapplication for extended periods of time, will fail. Unfortunately, many of us forget this very important service need and as these issues are out of sight and mind they often go unchecked. The problem is that water will try to get inside your rig even through the smallest of crevices. With the hurricane season getting started earlier than normal and the approach of hurricane Arthur on the South Carolina coast, I thought it high time I inspect my RV's roof to ensure it could handle the storm.
As seen toward the rear of the gutter the sealant appears to have failed as a small crack is evident.
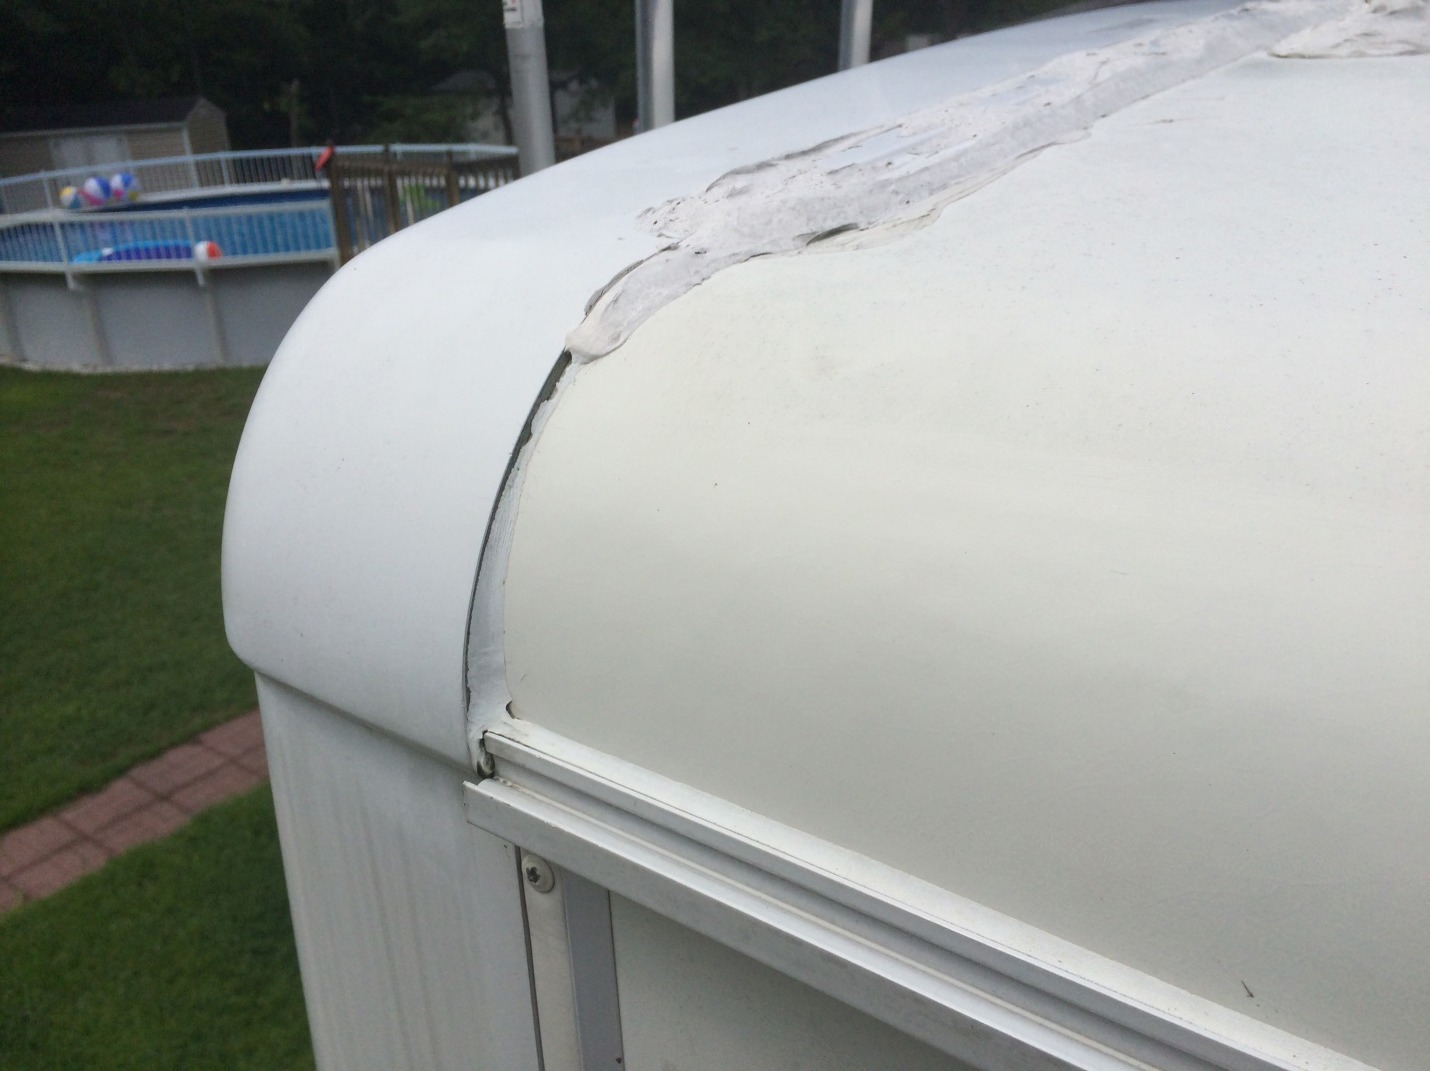
Another technique that can be applied is simply to push on the roofing sheeting material with your thumb to see if there is any disconnect or movement between the roof and the gutter seal.
Realizing that a condition existed where joints requiring sealant have failed, a resolution to the problem needed to be immediately pursued, enter
Eternabond.
Getting the right solution to prevent future problems was imperative and Eternabond White Roofseal of 2” x 50 feet long was used. (EB-RW020-50)
Eternabond features Microsealant Technology which can be used on a number of surfaces including EPDM roofs.
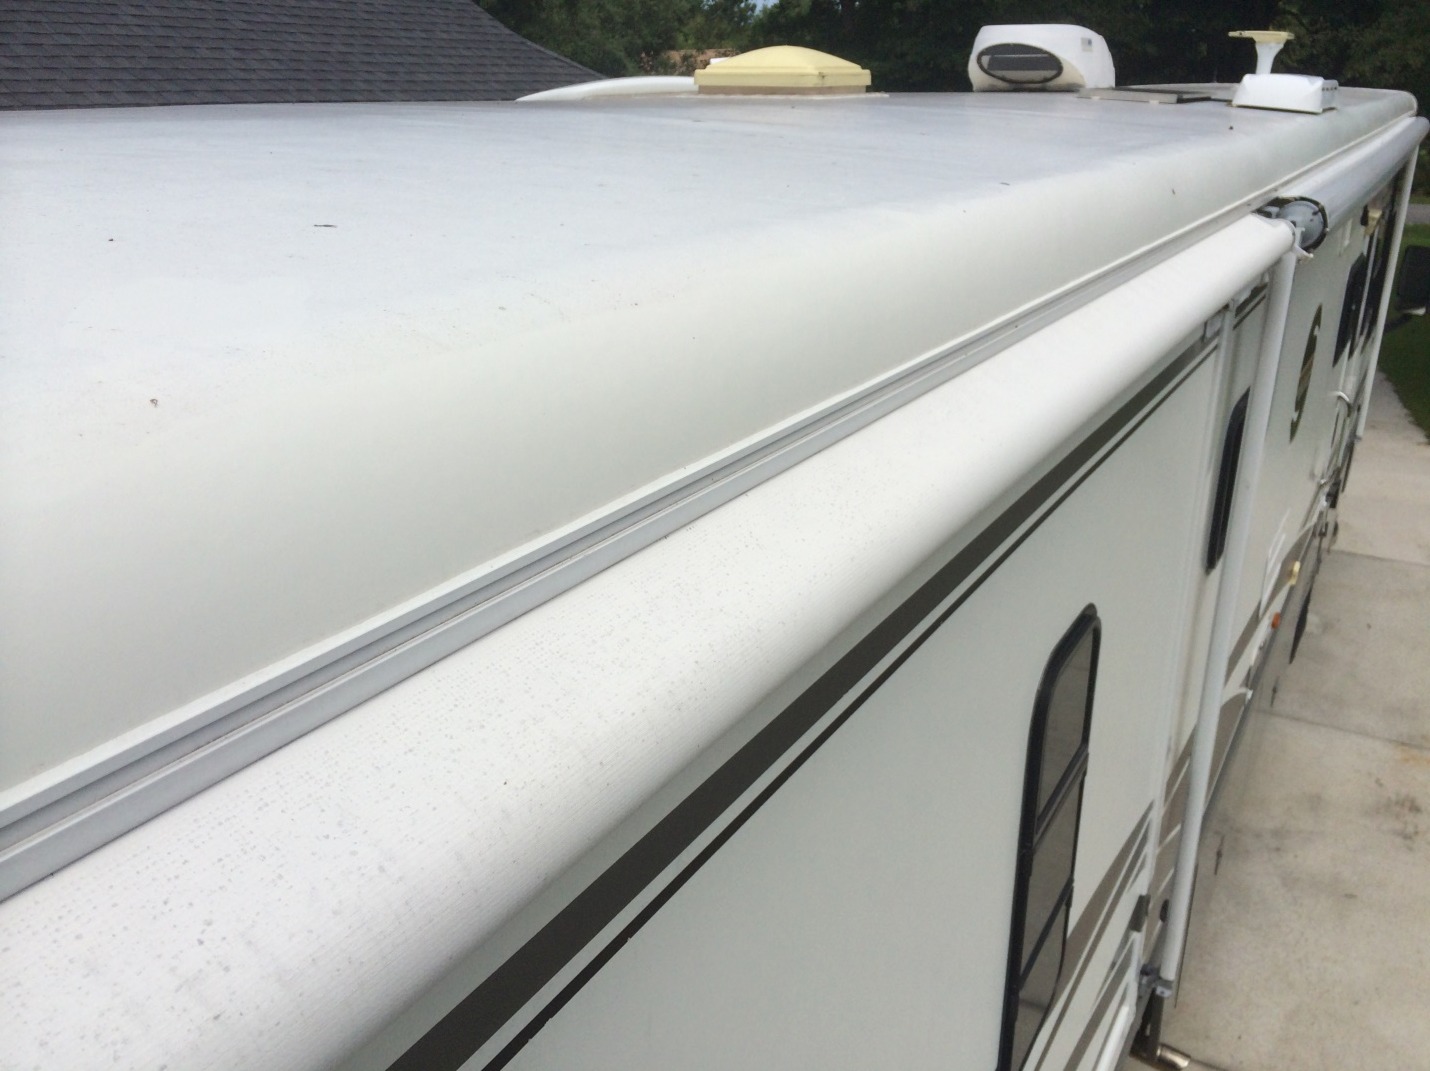
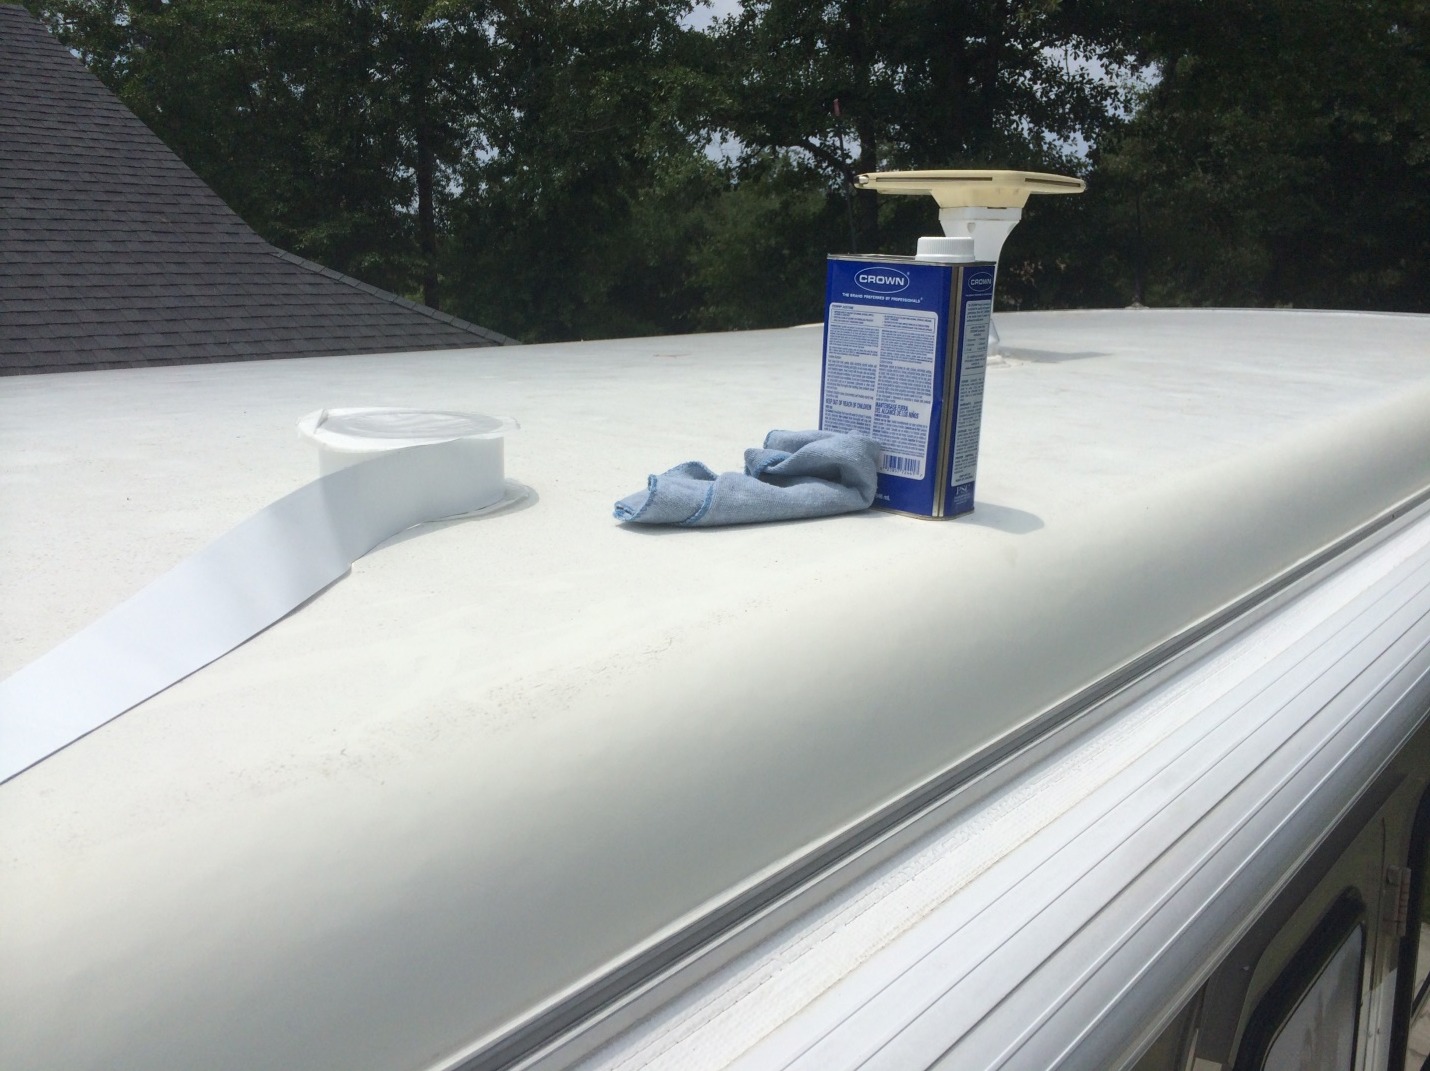
To get started, the area to be sealed needs to be completely cleaned and allowed to dry. I choose to use a diluted citrus based cleaner, sponge and water. A spray mist was used conservatively to remove soap residue and soil from the cleaned surface. Once clean and sun dried, the surface to be sealed will appear as in the picture above. To begin, the roll of Eternabond should be unwrapped however it is strongly recommended that you not remove the side wrappers that come directly in contact with the tape. The wrappers will prevent the tape from sticking to the roof when you lay it down plus you won’t have to struggle with the roll every time you handle it. The product is highly sticky and has little to no forgiveness for errors. If you are careful in using the product you should have little if any difficulty.
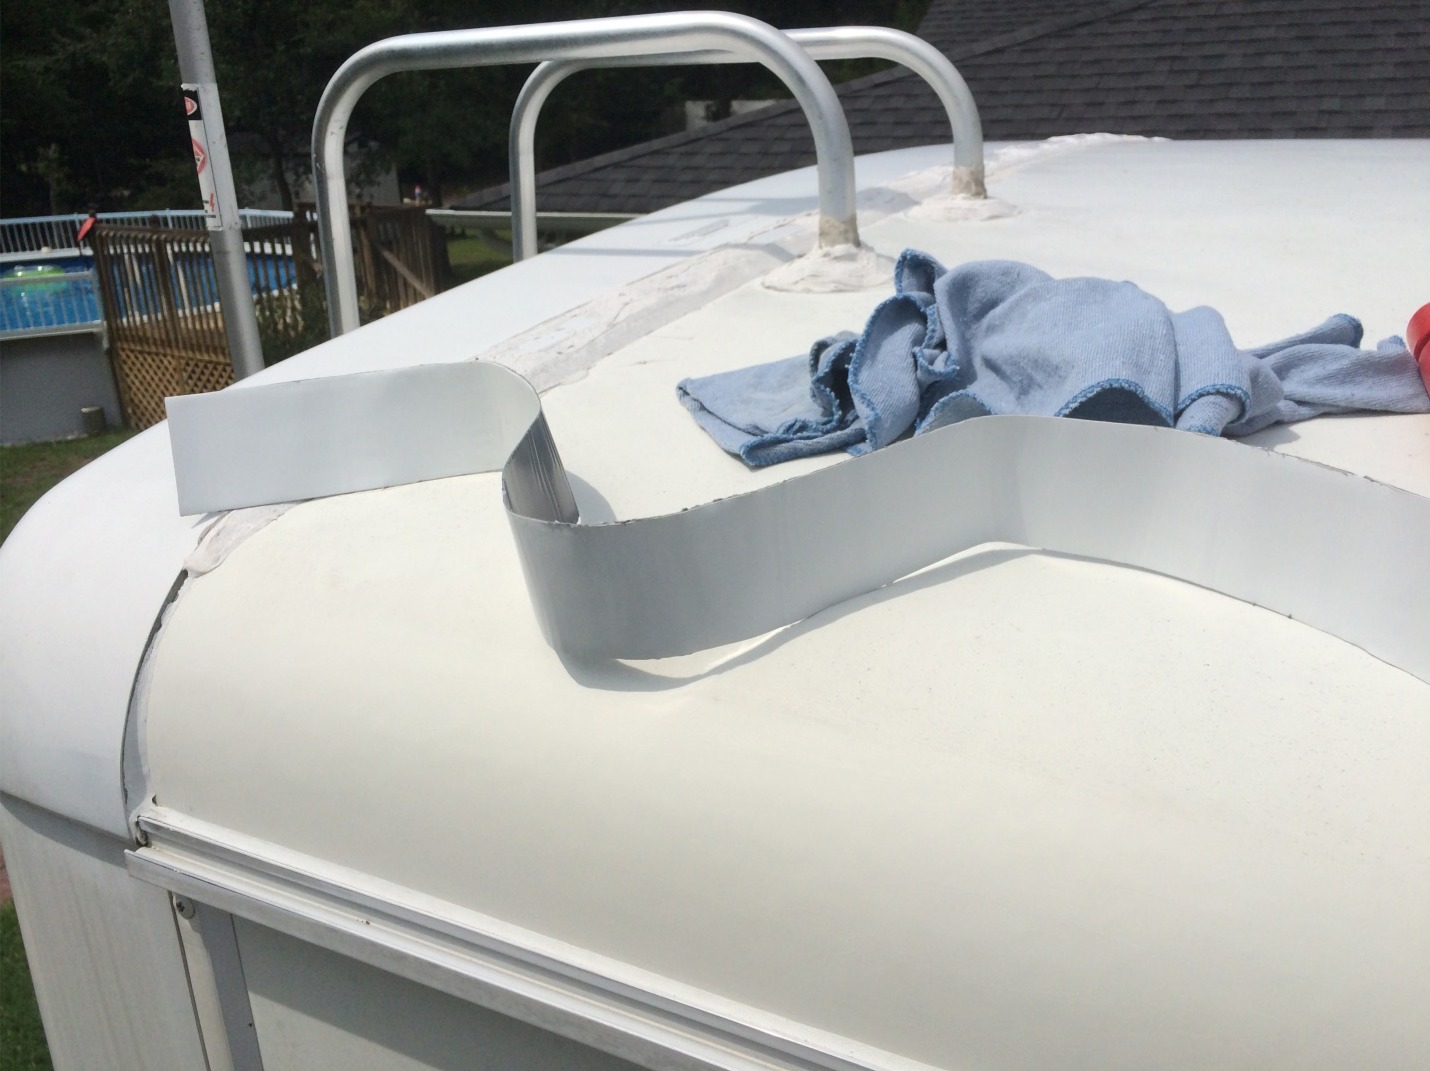
Using a non-residual solvent like acetone is recommended. With a clean shop towel, apply a small amount of acetone to the towel and wipe the cleaned surface. This will remove any trace contaminants and prepare the surface for proper adhesion by the Eternabond. As you can see I chose to de-spool about a 4 to 5 foot strip and to lay the roll on the roof upstream. I used a process of clean, dry briefly and stick. Where I placed the can of acetone to my right marked my furthest reach. The Eternabond has a film strip that is applies to the adhesive. You need to begin installing the product by peeling back the film and applying the tape. Do not get ahead of yourself. I only peeled approximately 10 to 12 inches at a time. If you curl up the edge like I did with my fingers, simply cut a ¼” slice of the end with a scissor and square up the tape end.
In this photo you can see how the tape was applied. Form fitting in corners is essential to good adhesion. Pressure needs to be applied to the tape which activates the adhesive. You can see a short section of the film as I used a scissor to keep the tape short as it had a tendency to be blown by the wind onto the exposed adhesive. A dense plastic roller should be used to roll out the tape after it is seated. Seating the tape is done using your fingers from the lowest point and applying pressure in a back and forth manner and continuing to seat the product horizontally upward while being alert not to introduce bubbles under the tape. I held a slight tension on the bottom of the tape with my right hand and applied the tape using my left. I found this method keeps the top of the tape away at a slight angle until you press it into place.
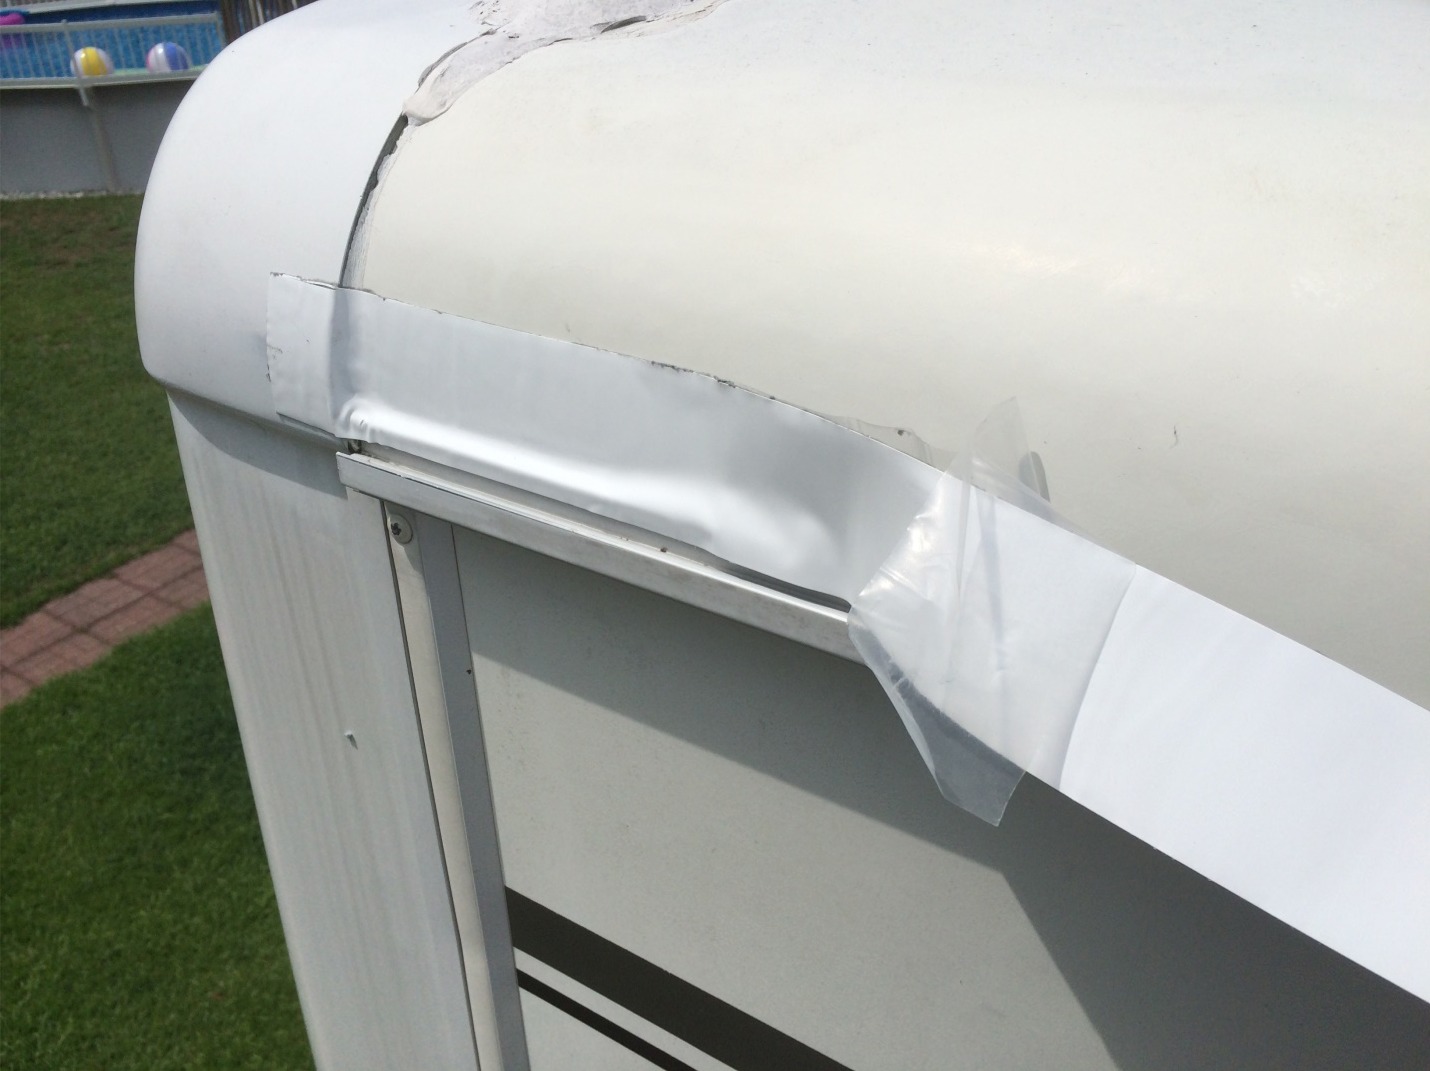
You can see in the next photo that the tape is sitting on the roof ahead of the working area. This will help keep the tape straight as it is being applied on the sealing surface. The edges of the tape that come into contact with anything will have a tendency to leave a residual trace of adhesive. I would simply clean those with the acetone and move on. After the product is completely rolled out, there may be trace amounts of adhesive on the tape surface. You may carefully remove those with a little acetone on your rag.
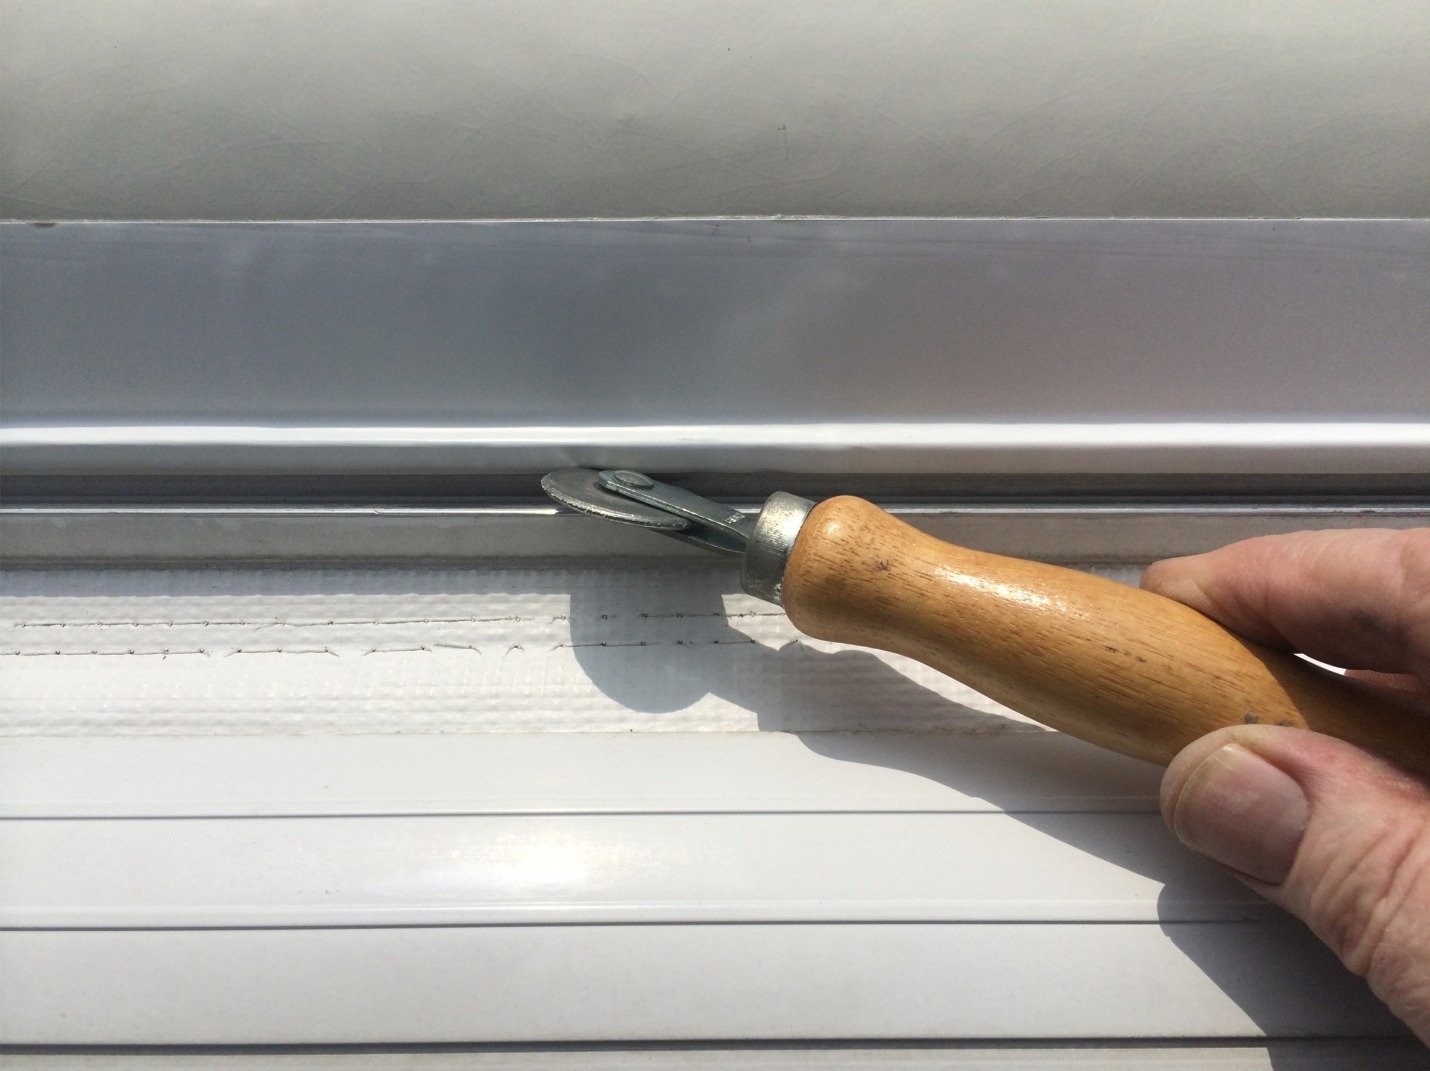
As I applied the tape I would slightly overlap the gutter rail leaving an eighth of an inch of material which could be rolled under the gutter. I chose to use a screen tool to apply pressure to the tape which helps activate the adhesive. The rolling action kept from tearing the tape. Caution must also be used when using the roller not to cut through the tape where it overlaps the edge of the gutter. If you keep the roller squared up to the work, use short strokes and keep the work directly in front and you should do fine. Do not overreach when applying or rolling out the tape. Apply a moderate amount of pressure to properly activate the adhesive.
If you do happen to raise a bubble, apply pressure in the bubble toward the closest edge not stuck down. As the bubble approaches the edge you may hear a burp or pop as it breaks the adhesive.
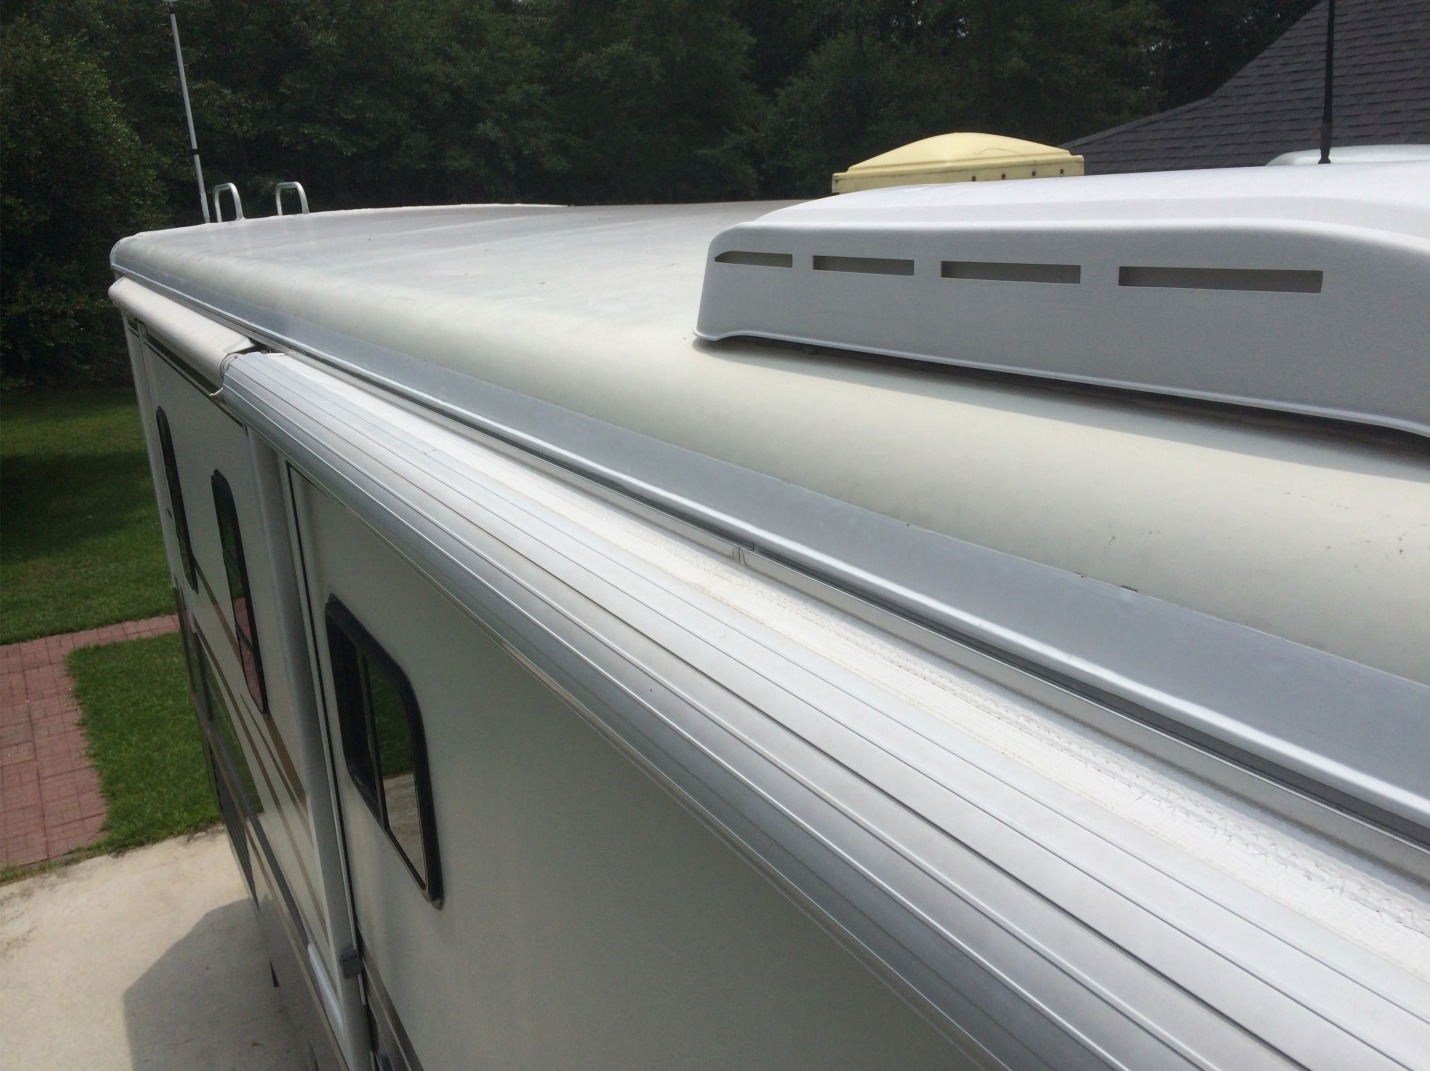
Your finished project should look similar to the photo below. On this day the temperatures were in the low eighties however the UV index was high. As your face will be exposed to direct and reflected sunlight if applied outside, do not forget to use a good sunblock with as much as an SPF-50 rating. You will also need to re-apply the sunblock periodically, check your product instructions for details. Having finished up this project in time, Hurricane Arthur made no impact on the sealing surfaces of my roof after being upgraded with Eternabond.
Materials used:
Note: I tried to use latex gloves however they have a great affinity for the adhesive so I abandoned their use. A piece of latex actually got stuck, ripped and I had to remove it as best as I could from the adhesive. I would recommend that you not use gloves.
|
