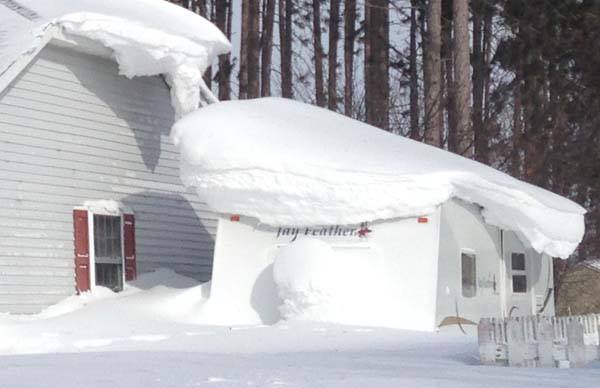
 You may not want to think about it, but now is a good time to be winterizing your RV and getting it ready for long term storage. RV winterization involves more than just getting your plumbing system prepared for below freezing temperatures. Between the plumbing system, interior, and exterior, there is a lot to remember, but don’t worry! Here some other things to keep in mind as you prep your camper for the cold and snow.
Obviously the main aspect of winterization is handling your RV’s plumbing system. Some things you’ll want to have on-hand include a water pump converter kit, a water heater bypass kit, a tank cleaning wand, and of course, RV anti-freeze. Make sure any inline water filters are taken out before you start running anything through the plumbing lines. The gray and black water tanks as well as the water heater should be drained, and the water tanks should be cleaned out. Open the the faucets to drain out the remaining water, then close them when finished. You can also use an air compressor to blow out any lingering water in the lines. When filling your system with antifreeze, make sure you’ve bypassed the water heater first to avoid wasting too much of it. Using a water pump with a converter is the easiest way to add the antifreeze to your system. Turn on the closest faucet until you see antifreeze come out, and then turn it off again. This step needs to be repeated for all other faucets, including the outdoor shower. The toilet should also be flushed until you see antifreeze come out. A cup of antifreeze should also be poured down each drain and into the toilet bowl. Appliances like ice makers, refrigerators, or washing machines will have their own instructions, so check the operating manuals. If you are short on time, you can use an air compressor to blow out the water from the lines and not use the anti-freeze, although you have to make sure you’ve gotten all the water out so remnants don’t freeze over winter.
With the biggest step complete, you can focus on other aspects of RV winterization. Your rig should be cleaned on the inside and outside, as well as cleaned out to remove anything that shouldn’t be sitting out for several months. You’ll want to deter anything from getting inside your RV, so using pest traps and repellant inside is a good thing to remember. Also make sure you plug any gaps or small holes on the outside. Steel wool is a good material to use, as small animals cannot chew through it. Vents should be covered. Take out all food, whether it is perishable or not, along with clothes, blankets, bed linens, and throw pillows. This prevents pests from being attracted inside and setting up a nest. It’s also recommended to set a moisture absorber inside to prevent mold and mildew growth. Take care to prevent leaks. Check the seals around windows and on your RV’s roof and repair any that might be damaged. Remove electronic devices and other valuables. Defrost the fridge and leave the door open. Make sure the batteries are charged and the water levels are full. LP tanks should also be full. Both the batteries and LP tanks should be removed, if possible. If you have a motorhome, service the engine much like you would with a car. Change the oil and filters, and top off all the fluids.
When it comes time to actually store your rig, make sure it is on a hard, level surface rather than the grass. Keep it away from trees if possible. Tires should be rotated periodically to avoid getting flat spots. Wheels should be chocked to prevent the RV from moving around. Use a breathable cover on your RV and its tires to prevent moisture from getting inside and to prevent damage from the elements, including UV exposure. Battery levels should be checked once a month and keep them charged with the water levels filled. You should also check on your RV a few times over the winter to reduce the chances of unwanted surprises come spring.
RV Winterization for Long Term Storage