|
Tips for Using Eternabond on your RV Roof 11/14/2014 Back to RV Accessories Article Home
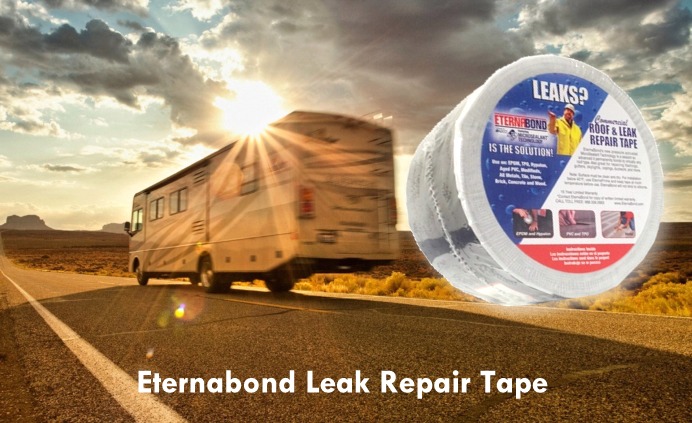
Leaks are something that nearly every RV owner has to contend with at one point or another. As such, having some Eternabond® on hand at all times is a good idea. To make successful repairs using Eternabond®, you’ll need to apply it correctly. Here are some tips you can use to ensure your job is done properly. #1. Rub tape aggressively in order to activate it A common mistake people make is not rubbing the tape hard enough when applying it. This is especially true when placing the tape around trim or old sealant. Be sure to rub the tape vigorously each time you apply it. A small roller will help speed this process up on larger repairs. #2. Don’t stretch the tape over protrusions Because Eternabond® is somewhat elastic, many people tend to stretch it over protrusions in the roof. A better solution is to fold and wrap it around the protrusion to ensure it sticks. Heating it with a hair dryer before rubbing it down and pressing it into position will help ensure it stays put. #3. Use heat to reactivate tape that has lifted If you find that certain sections of Eternabond® have lifted, there’s no need to reapply it. In most cases, simply heating the tape is enough to reactivate it and make it stick. You can do this with a hair dryer on the hottest setting, or by laying a towel over the tape and then ironing it down. For best results, heat up only small sections at a time and then rub them down thoroughly. When applied correctly, Eternabond® can be very effective at stopping RV leaks. If you’re in need of Eternabond® for your repair kit, contact us. By Bill Rowell Using Eternabond on your RV RoofHere are just a few Eternabond repair products designed to keep your RV water tight:
|


